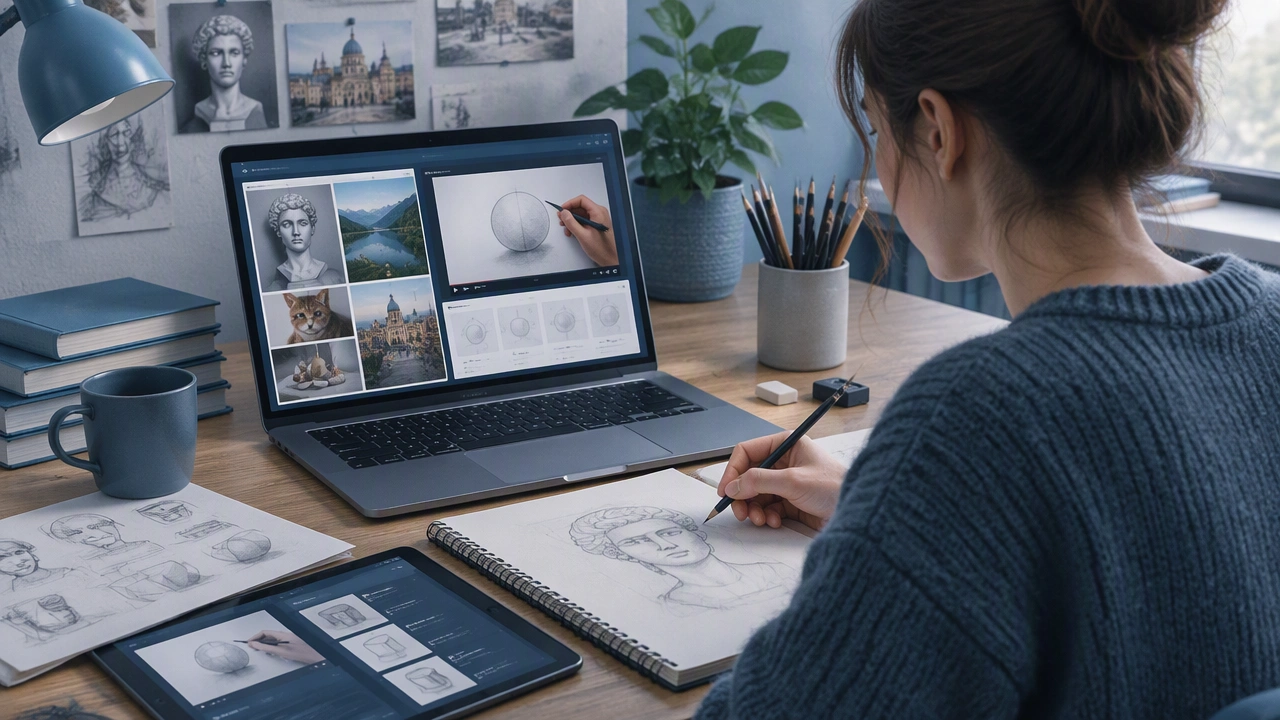
How to Build a Drawing Routine with Reference Libraries, Tutorials, and Short Exercises
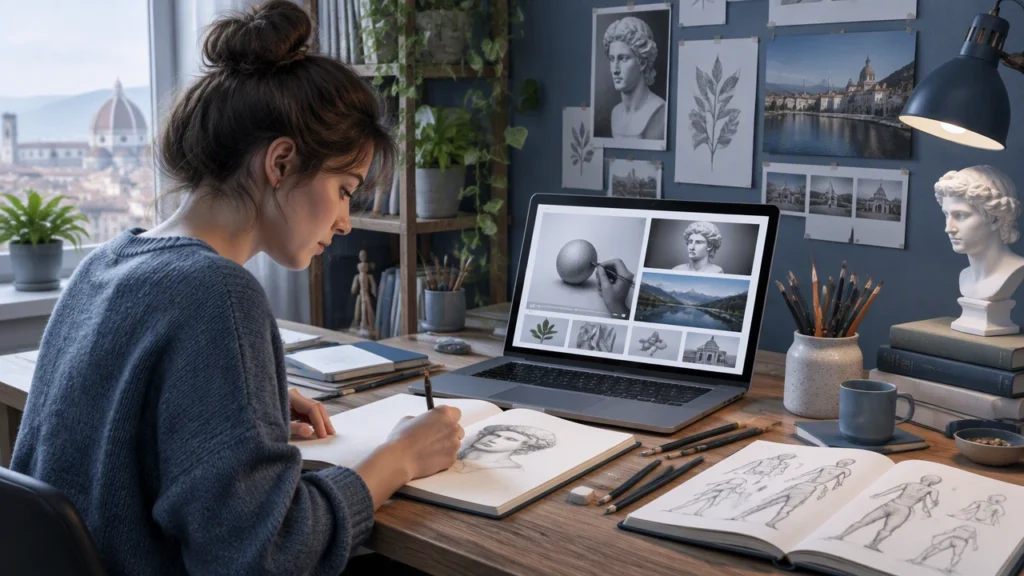
Learning to draw at home is more accessible than ever, but the sheer number of options can make it hard to start. A quick search brings up thousands of videos, image collections, and practice generators, and not all of them will suit your goals or current level. Instead of jumping between random resources, the most effective approach is to build a simple, repeatable routine that combines three types of support: reference libraries for observation, tutorials for understanding, and short exercises for building skill. With the right mix of free online learning resources, you can create a practice that is structured, enjoyable, and sustainable without needing expensive courses or equipment.
Why a Routine Works Better Than Random Practice
Many beginners start by watching a tutorial one day, copying a photo the next, and then trying a timed sketch when they have extra time. While all of these activities are useful, doing them without a plan often leads to gaps. You might understand how to shade a sphere but struggle to apply it to a portrait, or you might collect references without ever studying them closely.
A routine solves this by giving each type of resource a clear purpose. Reference libraries train your eye, tutorials build your understanding of concepts like proportion, perspective, and light, and short exercises turn that understanding into muscle memory. When you combine them intentionally, you spend less time deciding what to do and more time drawing. A routine also makes progress easier to see, because you return to similar exercises regularly and can notice improvements in line confidence, accuracy, and speed.
The Three Building Blocks of a Balanced Practice
A balanced drawing routine does not need to be complicated. Think of it as three complementary tools that support different parts of learning. You do not need the best resource in each category, just one or two reliable options you enjoy using consistently.
1. Reference Libraries for Observation
Reference libraries are collections of images or 3D models you use to observe and draw from. They are essential for developing visual accuracy and understanding how forms look in different poses, lighting conditions, and angles. Good libraries let you filter by subject, such as hands, faces, animals, architecture, or full figures, and by difficulty or pose length.
For beginners, look for libraries that offer:
- Categorized poses with clear, high-resolution images and varied angles, not just stylized or heavily edited photos.
- Timed viewing modes that let you set intervals from 30 seconds to 10 minutes for gesture and longer studies.
- Neutral lighting and simple backgrounds so you can focus on form rather than distracting details.
- Usage permissions that clearly state images are free for personal study.
Use references not only to copy, but to analyze. Before you draw, spend 30 seconds asking what the largest shapes are, where the light source is, and how the parts connect.
2. Tutorials for Understanding
Tutorials explain the why behind what you see. A good tutorial breaks a complex subject into steps and shows common mistakes, not just a flawless final result. Video tutorials are helpful for seeing stroke order and process, while written guides with illustrations are often better for studying at your own pace.
When evaluating tutorials, consider:
- Clarity of explanation over production quality. A calm, step-by-step demonstration with clear language is more useful than a fast, entertaining time-lapse.
- Focus on fundamentals such as construction, proportion, value, and perspective, especially if you are in your first year of learning.
- Practice prompts included at the end, so you can apply the concept immediately rather than just watching passively.
Try to limit yourself to one primary tutorial source per topic at a time. Following five different methods for drawing eyes in the same week can create confusion. Master one approach, practice it, then compare alternatives later.
3. Short Exercises for Skill Building
Short exercises are brief, repeatable drills that isolate a single skill. They are the equivalent of warm-ups for musicians. Because they are timed and focused, they reduce pressure to create a finished piece and help you build consistency.
Effective exercises include:
- Gesture sketches of 30 to 90 seconds to capture movement and overall posture without getting caught in details.
- Contour and blind contour drawing to improve hand-eye coordination and observation.
- Value scales and simple shading drills using only three to five tones to understand light and shadow.
- Shape and line control drills such as drawing straight lines, ellipses, and boxes in perspective.
Keep exercises to five to ten minutes. The goal is not perfection but repetition and awareness. Notice what feels awkward and bring that observation to your next tutorial or reference study.
How to Choose Free Tools and Websites for Learning Drawing at Home
Finding quality free tools and websites for learning drawing at home takes a little evaluation, but a few criteria make the choice much easier. You do not need to test every platform; you need a small set that matches your current level, learning style, and schedule.
Use this checklist when comparing options:
- Match to your level. A site aimed at advanced figure drawing with complex anatomy will frustrate a beginner, while a site that only offers very basic cartoon tutorials may not challenge an intermediate learner. Look for resources that label content as beginner, intermediate, or advanced.
- Teaching approach. Some people learn best by watching, others by reading and doing. If you lose focus with long videos, prioritize sites with written steps and images. If you need to see hand movements, choose video-based platforms.
- Organization and search. A good site lets you browse by topic, medium, or time required. Avoid platforms where you have to scroll endlessly to find relevant material.
- Update frequency and community. Active sites with recent updates and moderated community galleries or feedback sections tend to maintain higher quality and offer more motivation.
- Time commitment and flexibility. Choose tools that fit the time you actually have. A library with a one-click 15-minute practice session is more useful than one that requires an hour of setup.
Start with one reference library, one tutorial channel or blog, and one exercise generator or prompt list. Use them together for at least two weeks before adding anything new. This prevents resource overload and helps you learn how each tool best supports you.
A Simple Weekly Drawing Routine You Can Adapt
You do not need hours each day to improve. A short, consistent routine is more effective than occasional long sessions. The structure below combines all three building blocks and can be adjusted to 20, 30, or 45 minutes depending on your schedule.
A 30-Minute Daily Structure
- Minutes 0-5: Warm-up. Do loose line drills, circles, or ellipses. Focus on relaxed grip and smooth motion.
- Minutes 5-15: Focused exercise. Choose one drill, such as four 2-minute gesture poses from a reference library or a value study of a simple object.
- Minutes 15-27: Tutorial application. Watch or read a small section of a tutorial, then immediately apply it. For example, after a lesson on head construction, draw three heads from reference using that method.
- Minutes 27-30: Reflection. Look at what you made, note one thing that worked and one thing to adjust tomorrow. Take a quick photo to track progress over time.
A Weekly Focus Rotation
To avoid monotony and ensure balanced growth, rotate your focus across the week while keeping the daily structure the same:
- Monday and Thursday: Form and proportion. Use reference libraries for figure or object poses and practice construction with simple shapes.
- Tuesday and Friday: Light and value. Work from still-life references and tutorials on shading, limiting yourself to a few values.
- Wednesday: Line and detail. Practice contour drawing, hands, or texture studies with short, timed exercises.
- Weekend: One slightly longer 45-minute session for a more finished study that combines the week’s lessons, plus a light sketch day for fun without strict goals.
If you miss a day, do not try to double up. Just continue with the next day’s focus. Consistency over weeks matters more than perfect adherence.
Staying Consistent Without Burning Out
Motivation naturally fluctuates, so design your routine to be forgiving. Keep materials simple and ready to use. A sketchbook, pencil, and eraser are enough for most exercises, which removes friction. Set a regular time and place, even if it is just a corner of a table, and keep sessions short enough that starting feels easy.
Other strategies that help:
- Set process goals such as draw four times this week rather than create a perfect drawing.
- Limit choices. Prepare your references or tutorial for the next day the night before.
- Alternate challenge and comfort. If a tutorial feels difficult, follow it with an exercise you enjoy and can do well to end on a positive note.
If you feel tired or frustrated, shorten the session to 10 minutes of warm-ups and gestures rather than skipping entirely. Maintaining the habit is more important than the length of any single session.
How to Track Progress and Know When to Adjust
Progress in drawing can be slow to notice day to day. Keep a simple log with the date, what you practiced, and one observation. Once a month, compare your recent work to older pages. Look for improvements in proportion, line confidence, or understanding of light rather than just overall likeness.
Consider changing or adding a resource when you consistently find exercises too easy, when tutorials no longer introduce new concepts, or when you have developed a specific interest such as portraiture, landscape, or character design. At that point, you can seek a more specialized reference library or tutorial series, while keeping the same routine structure.
By combining reference libraries, clear tutorials, and short exercises into a repeatable routine, you turn an overwhelming number of free options into a personal learning path. Choose a few free tools and websites for learning drawing at home that fit your level and style, use them consistently in short daily sessions, and let small, steady improvements build over time.